
The Art of Money Origami: A Complete Beginner’s Guide
DISCLAIMER: Upgrade My Wealth is reader-supported. This post contains affiliate links, meaning if you click on a product or service and decide to purchase it, we may receive a commission at no extra cost to you. All recommended products and services are based on our personal positive experience with them. For more information, please read our Disclaimer.
Something a bit different for today’s post! When I was younger, I made loads of origami, so I thought writing a guide on money origami and folding bank notes into works of art would be fun.
This origami can be done with any currency; pounds, dollars, euros, or some of the more colourful notes look great, such as Australian dollars or Swiss Dollars!
Money origami, the creative practice of folding currency into intricate designs, transforms ordinary bills into captivating works of art. Originating from the traditional Japanese art of paper folding, origami has evolved to include a fascinating subculture centred around folding money into various shapes and figures.
This article is a comprehensive guide for beginners eager to explore the world of money origami, including a step-by-step tutorial for a simple yet impressive design.
Let’s get started!
The History Origami
Origami, as an art form, has a rich history that dates back centuries. Its roots can be traced to ancient Japan, where paper folding was initially used for ceremonial purposes.
The word “origami” is derived from two Japanese words: “ori,” meaning to fold, and “kami,” meaning paper.
Over time, origami evolved from its ceremonial origins to become a popular recreational activity, with practitioners worldwide exploring new and creative ways to fold paper.
The concept of money origami emerged as a natural extension of traditional origami, blending artistic expression with a tangible, everyday medium. While the origins of money origami are challenging to pinpoint, it gained popularity in recent decades, thanks in part to the rise of social media that enabled enthusiasts to share their creations with a global audience.
The Basics of Money Origami
Before diving into the intricate designs, beginners should familiarise themselves with the basics of money origami. Here are key tips to get started:
- Choose the Right Bills: While any denomination can be used, bills with distinct colours and designs, such as the U.S. dollar or the Euro, often yield more visually appealing results.
- Practice with Crisp Bills: New, crisp bills are easier to fold than worn or creased ones. They hold their shape better, allowing for more precise folds.
- Patience is Key: Money origami requires patience and attention to detail. Take your time with each fold, ensuring accuracy for a polished final result.
- Start with Simple Designs: Beginners should begin with straightforward designs to grasp the fundamental folding techniques. As skills progress, more complex designs can be attempted.
- Use a Flat Surface: Work on a clean, flat surface to achieve neat folds. A hard surface, such as a table or desk, provides stability and enhances precision.
Step-by-Step Tutorial: Creating a Money Origami Heart
Let’s explore a simple yet visually striking money origami design: the heart. Follow these steps to create your first masterpiece:
Instructions and photos courtesy of lgetchell1 on Instructables.com
Materials Needed:
- Crisp bill (e.g., British Pound, U.S. dollar, but any currency will do)
- Flat surface
- Ruler or credit card (optional but helps with flattening the edges)
Instructions:
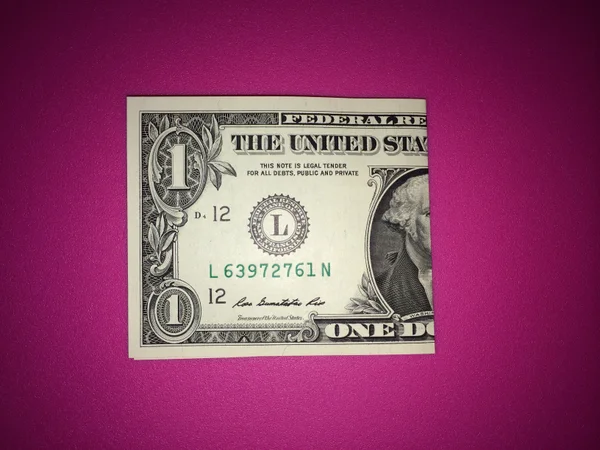
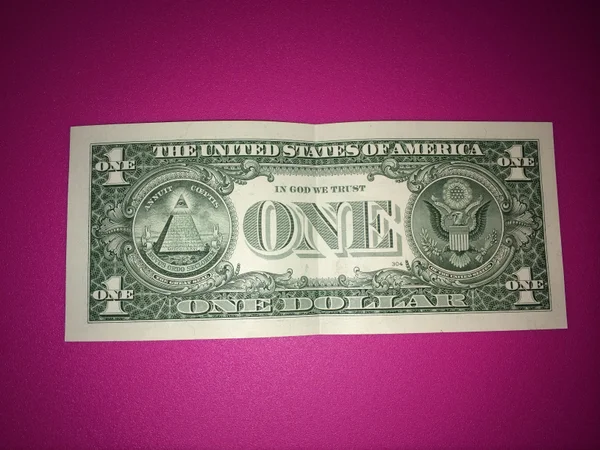
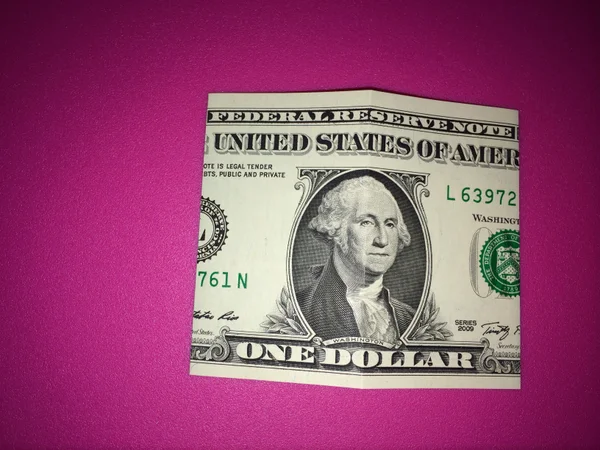
Step 1: Choose Your Bill
Select a clean, crisp bill for optimal results. Lay it flat on your chosen working surface.
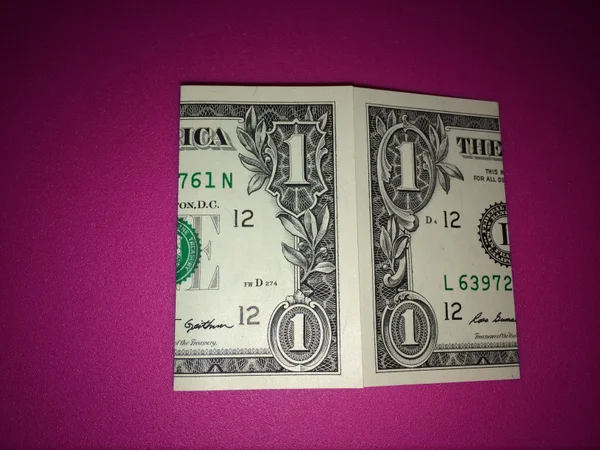
Step 2: Fold in Half
Fold the bill in half lengthwise, aligning the edges precisely. Crease the fold sharply. Unfold the bill.
Step 3: Unfold and Fold Edges to Centre
Fold both edges inward to meet at the centre crease. Ensure the edges align precisely with the centre.
Step 4: Fold Top Corners
Fold the bottom corners upward, meeting at the centre crease. This forms the bottom half of the heart shape.

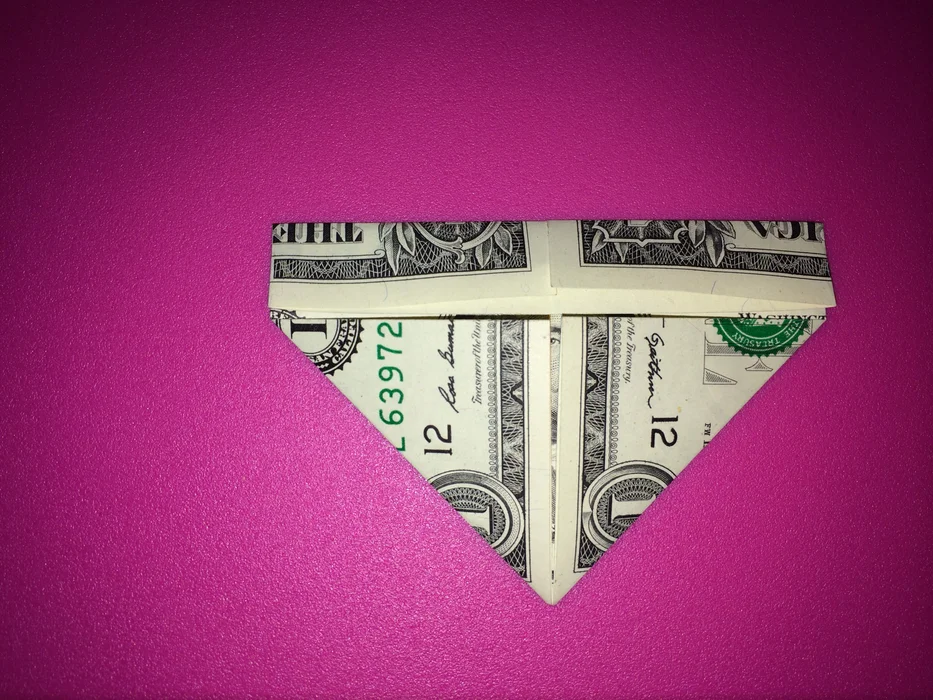
Step 5: Fold The Top Down
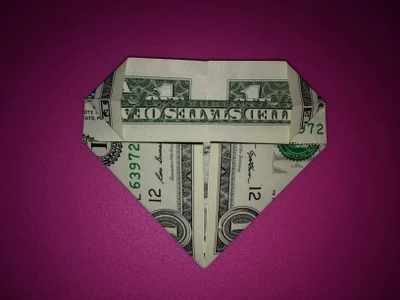
Fold the top down, creating a triangular shape out of the bill. The point of the triangle should align with the centre crease.
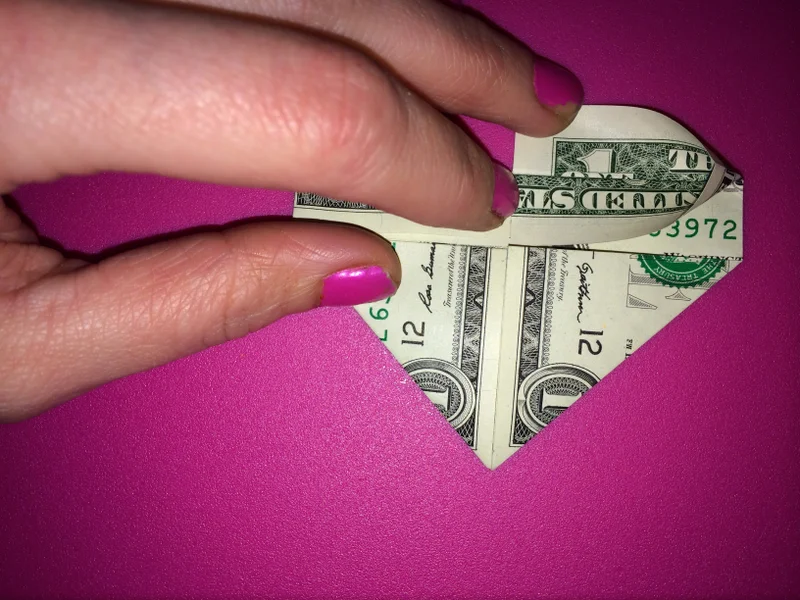
Step 6: Squash Folding
Lift one of the top flaps up and squash fold side to form a triangle (see photos)
Repeat with the other side.
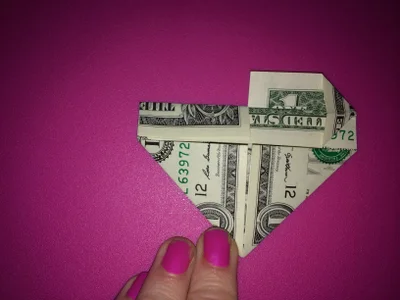
Step 7: Final Folds
Fold the centre corners on the top inward, as shown in the photos.
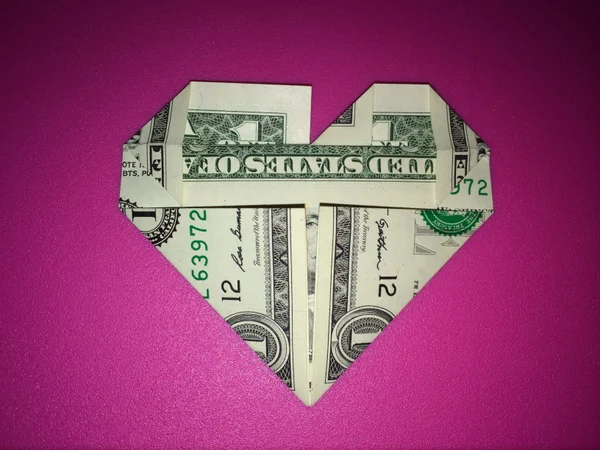
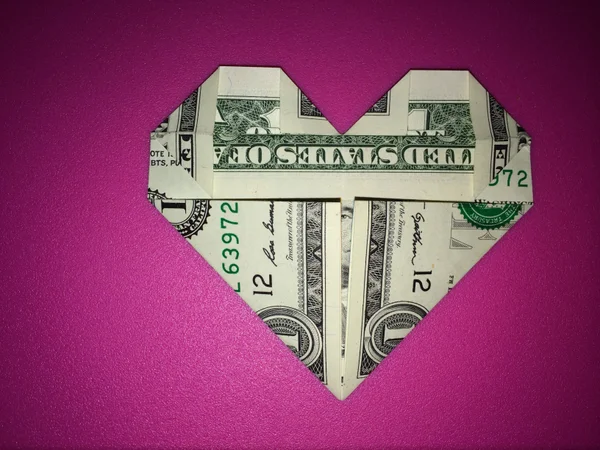
Step 8: Flip Over and Make Final Adjustments
Flip the heart over and make final adjustments to refine the heart shape. Ensure that the folds are symmetrical and the heart looks well-formed.
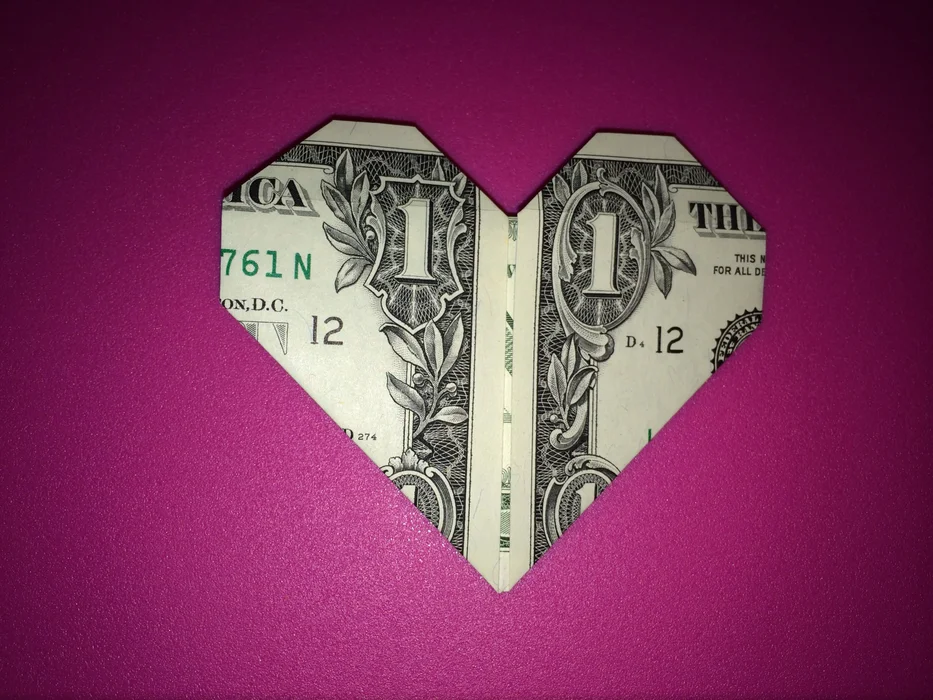
Congratulations! You’ve successfully created a money origami heart. Experiment with different bill denominations and practice with various designs to enhance your money origami skills.
Tips for Advanced Money Origami Creations
As your confidence and skill level grow, consider exploring more advanced money origami designs. Here are additional tips for taking your creations to the next level:
- Explore Online Resources: Numerous websites, forums, and social media groups dedicated to origami offer tutorials, design ideas, and a platform to connect with fellow enthusiasts.
- Experiment with Different Bills: Try folding designs using bills of various denominations and currencies. Each bill’s unique features can add an extra layer of creativity to your origami art.
- Combine Multiple Bills: For a more intricate and visually stunning result, try experimenting with combining multiple bills to create larger, more complex designs.
- Embrace Creativity: Don’t be afraid to add your unique touch to designs. Experiment with modifications, colours, or even incorporate additional elements into your creations.
- Share Your Art: Join online communities or social media groups dedicated to origami to share your creations, gain inspiration, and connect with fellow enthusiasts worldwide.
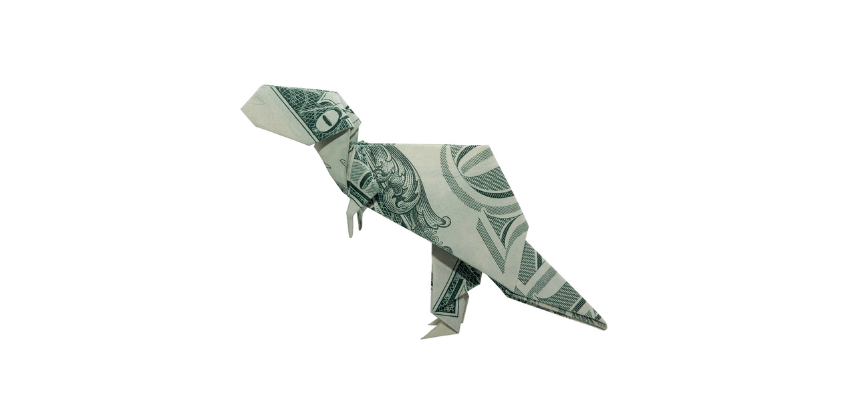
Check out Fold ‘n Crease on YouTube for more money origami inspiration. To make the T-Rex Dinosaur, check out Fold ‘n Crease’s video below.
Final Thoughts: Unlocking the Artistic Potential of Money Origami
Money origami is unique and captivating and can be a fun pastime or simply to impress others at the dinner table!
From simple hearts to intricate animals, the possibilities are limited only by your creativity and imagination. This complete beginner’s guide provides the essential foundation for exploring the art of money origami, encouraging both artistic expression and a deeper appreciation for the beauty that can be found in everyday objects.
As you embark on your money origami journey, remember that each fold tells a story of creativity, patience, and the transformation of ordinary bills into extraordinary works of art.
So, grab a crisp bill, find a flat surface, and let the folds take shape. Your artistic adventure awaits in the captivating world of money origami!
With origami money, there is also the bonus that you won’t want to spend your money after creating such beautiful pieces, thus saving you more money in the long run.
Share your designs below!